Photo # 1, Mechanical
rust removal tools:
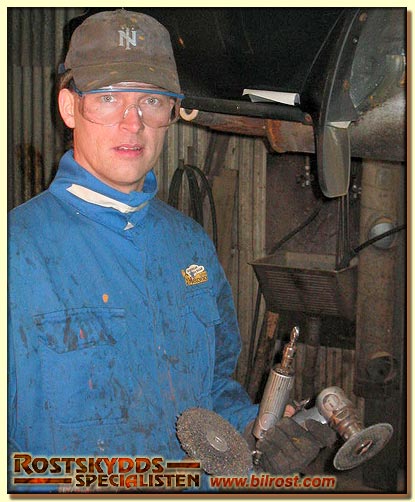 Photo # 2, Diamond drill bit:
 |
Tools...
Mechanical
rust removal
Not all rust can be sandblasted...
especially near the visible finish of the car. This means more conventional
(and labor-intensive) methods are required for these areas.
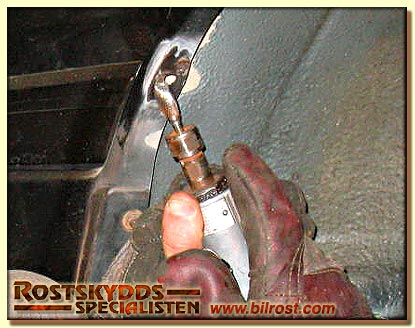
Photo # 1: The Rostskyddsspecialisten is holding
some of the tools used for mechanical removal of rust, which include
the rotary steel wheel, the diamond drill, and the grinding wheel.
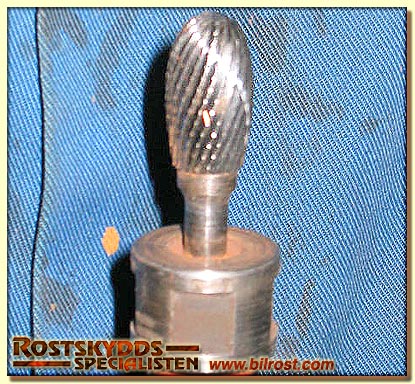
Photo # 2: A close up of the 650 kr. diamond bit,
used on a high speed pneumatic drill. Such equipment is expensive
and labor-intensive, but produces the best results in protecting your
car from rust and corrosion. |
| Diamond drill
photo # 1:
Diamond drill
photo # 2:
|
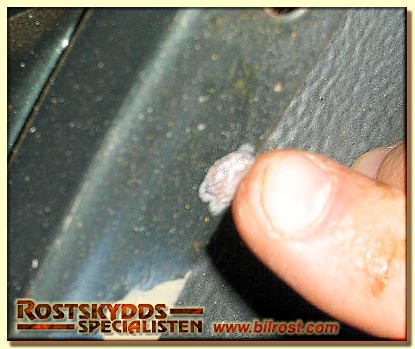
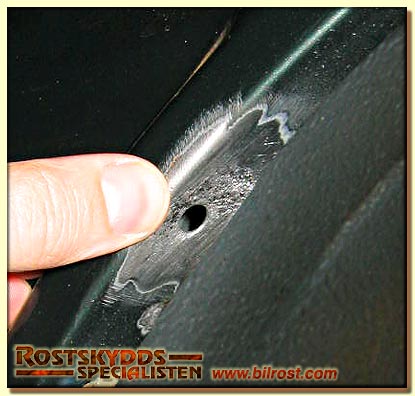
Small fender chip...
Photo # 1: Fender
chips such as these should usually be treated before the metal underneath
can begin corroding and rusting.
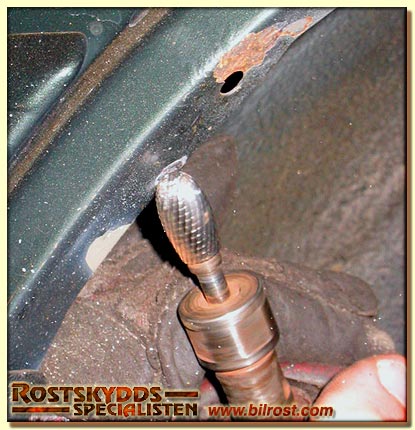
Photo #2: The diamond drill quickly cleans the metal
and surrounding paint. Some of the white specks are flying paint chips
caught by the strobe, and others are small nicks cause by rocks carried
up by the tires.
Note: See
the older, rusted chipping at the top of Photo #2: such deep rust
will require even more treatment, and will be the subject of the next
section, "Spot Rust Removal".
|
| Spot rust removal
photo # 1:

Spot rust removal photo # 2:
Spot rust removal photo # 3:
Spot rust removal photo # 4:

|
Spot rust removal...
Grinding
& drilling
Photo # 1: The
larger, rusted chip has significant pitting. The surrounding metal is
cleaned with a rotary steel mesh wheel.
Photo # 2: Significant pitting has occurred, so the
diamond drill is used to smooth and prepare the surface.
Photo # 3: Close
up of the rust-free metal.
Note:
The permanent results of the pitting can be clearly seen. If allowed
to continue, the pit would become a rust hole.
Photo # 4: The newly cleaned metal is primed. The special
spot primer has filled/smoothed the rust pits in the prior photo.
|
Primed
& painted photo #1:
 Primed & painted photo #2:
 Primed & painted photo #3:
|
Primed & painted
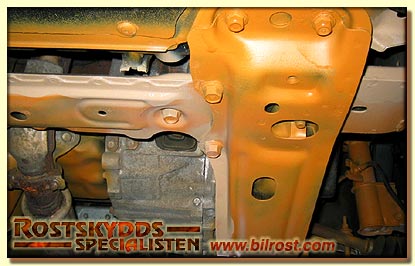
Ready for Protectant...
The primer and paint are both special, designed to protect your car.
A three component primer is used, and the paint is a special mixture
of automotive paint, hardener, and a strong thinning/bonding chemical.
Primer is applied first, and then paint in certain areas, over the primer.
Photo # 1: Left Front Transaxle (looking forward).
Note:
Many companies do not prime or paint. In fact, most
will not even remove the existing rust before applying rust protectant.
As a savvy customer might expect, the excuse offered is usually a variant
of "it's not necessary", which is the age-old code for "that
would cut our profits!".
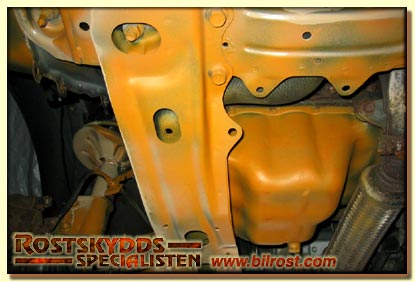
Photo # 2: Underbody (looking back). Note the exhaust
pipe (on the far left side of the middle photo): the joint is rusty,
and will eventually fail (breaking the exhaust system).
Note:
Ideally, a stainless steel joint should have been used
by the car maker, but a little money was "saved" by substituting cheaper regular steel, which will
rust and oxidize especially quickly because of the intense heat of the
exhaust. Rust protection cannot be applied to the hot exhaust surfaces...
the best solution is to simply insist on a stainless steel replacement
exhaust system when this one rusts through. The exhaust & muffler
repair shops run a thriving business because of automaker short cuts
like this.
Photo # 3: Engine/Right Side (looking forward).
Note:
Look at the layers of primer (yellow) and paint (tan), and the texture
of the treated surfaces: they are clean smooth. The rust has been removed,
not ignored and locked
forever to your car by simply spraying black "protectant" all over rust (and anything else), as some major companies
choose to do. As Dinol boasts, they rinse & dry the car's
underbody, but do not bother to remove
the rust, and prime/paint your car's vulnerable areas!
|


